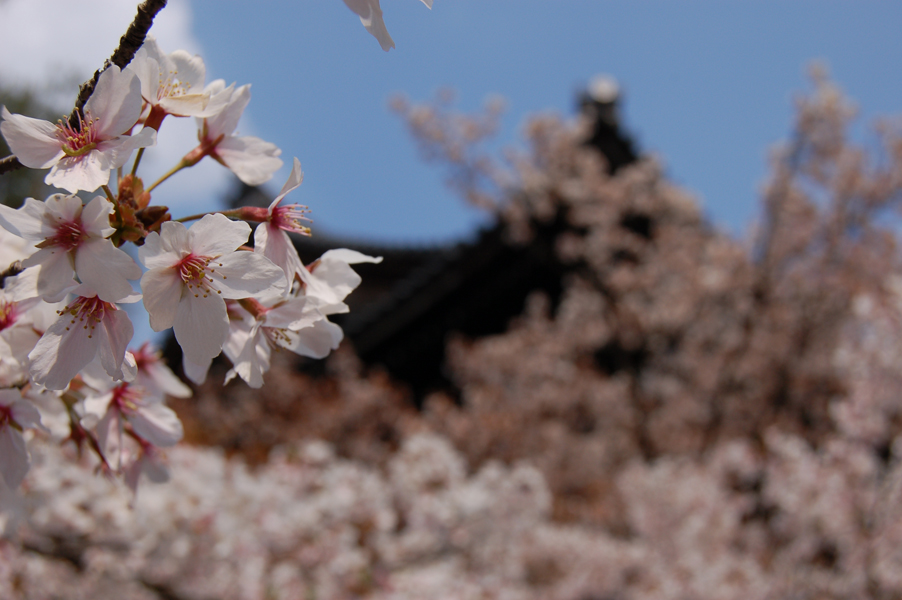
Sakura, New Recipe, and the Flavour of Things to Come

Modern sake brewers (Japanese and otherwise) are changing the rules of the game. New methods that promise to produce as much flavour as possible are replacing some of the old ways. Traditional recipes are no longer untouchable; Armed with a better understanding of biochemistry (and shinier equipment) today’s sake industry is getting closer to the authorship of a product that more closely matches the poem in the mind of the brewmaster.
I have a new recipe as well. And just in time! I had been wanting to put a flask of cherry blossoms (locally sourced and generously donated by my friends Elliot and Seana) to good use. The focus of my new recipe was:
- To start with a stronger moto (initial culture).
- To introduce some more polysaccharides late in the process, in order to have a sweeter end-result.
- To find a better, safer way to flavour the sake.
Now that the batch is done (with good results, I might add) I am ready to share the complete recipe with you.
Ready?
| Day Number | Morning | Evening |
|---|---|---|
| 1 | Pre-celebrate your new batch by drinking some sake from the previous one | Add the following to 2.5 cups of water:- 1 tsp of lactic acid- 3/4 tsp of yeast nutrient- A pinch of Epsom salts- 1 tsp of potassium chloride- 1/2 cup of KojiKeep it all in the fridge. |
| 2 | Cook and add 1.5 cups of rice, plus a cup of water. Mix well. Keep at approx. 21 deg (celsius) | Stir |
| 3 | Stir well | Stir well |
| 4 | Stir, refrigerate to 10’C | Add yeast on top of moto, and do not stir |
| 5 | Bring to room temperature | More of that stirring |
| 6 to 11 | Stir | Stir |
| 12 | Bring down to 10’C | Your moto is done. Get ready! |
| 13 | nothing | Add 1 cup of Koji |
| 14 | はつそえ | Start around 2:00 pm, add 2.75 cups of water and 1.5 cups of koji to the moto. Cook and add 2.5 cups of rice, and stir for a long, long time, probably around 20 minutes. As always, make sure the rice is no warmer than 30’C when introduced to the moto. |
| 15 | Stir every two hours | Add 1.5 cups of Koji, and stir |
| 16 | 中そえ. Add 10 cups of water. Cook and add 6 cups of rice | Add 3.5 cups of koji, and bring fermenter to room temperature. |
| 17 | 止めそえ (1) | Start around 2:00 pm, Add 9 cups of water, Cook and add 5 cups of rice |
| 18 | 止めそえ (2) | Start around 2:00 pm, Add 9 cups of water, Cook and add 5 cups of riceBring down to 10’C |
| 19 to 20 | Stir | Stir |
| 2 weeks | Nothing | Nothing |
The Fourth addition
If you wish to do a fourth addition, make it happen approximately in the middle of those two last weeks. I recommend to:
- Cook and add 1.5 cups of rice.
- Add 1/2 cups of Koji.
- Add 2 cups of water.
Congratulations. At the end of these two weeks, your mormomi is done. Notice that we separated the tomezoe addition into two. This is only done for practical reasons, as I don’t have enough room for cooking that much rice at once. If you don’t separate this addition, simply use 18 cups of water and 10 cups of rice.
You are ready to press. After doing this, let the sake rest for ten days, then decant, rest for ten days, decant, ten more resting days, and you are ready to pasteurize.
First pasteurization
If you are flavouring your sake, an option is to do it here, as you pasteurize. This will give it just a bit of the flavour without overwhelming the sake. Just add your stuff and heat the sake up to 60’C\nYou can bottle after just one pasteurization. Brewmasters now believe that this creates a more flavourful sake. If you decide to pasteurize only once, I’d recommend you to let your sake rest for twenty days before consumption.
Otherwise, wait twenty days and do a second pasteurization.
Second pasteurization
If you did not bottle after the first pasteurization, this will be your second and final before bottling. Same drill: Heat to 60’C, and bottle!
I split my sakura batch in two. After adding the dried blossoms to both, I pasteurized the first half and bottled immediately (filtering the blossoms out), then left the blossoms on the second for a full twenty days, pasteurized again, and bottled (filtering out the blossoms).
The flavour of this second half is certainly more subtle. Is this better? Maybe, maybe not. My recommendation is for you to try both, and decide based on your own criteria.
After all, you are the brewmaster ;)
Coming up: I’ll be sharing my batch notes with you (i.e., an almost daily account of my observations during this batch), along with some ideas for my upcoming batch in 2015. Stay tunned!