Yamahai
We’ve come a long way.
My first post goes back to 2014. Mistakes were made and I’ve sneakily gone through my archive to correct the most embarrasing ones. Others apper in the form of entire articles and will remain for posterity (who thought flavouring sake or filtering it at home was a great idea?).
It is 2021, the world has gone through difficult times and we face a bittersweet future. Allow me to brighten things a bit: I come to you with the recipe of what I consider to be the best 1 sake you can possibly 2 brew at home.
Well, that’s a bold claim, isn’t it?
— you
Quite, but I’m up to the challenge. Today, I’ll share with you my Yamahai style, Junmai Ginjo Genshu recipe.
That’s a mouthful. Let’s review:
- Junmai: No added alcohol.
- Ginjo: Rice milled to at least 60%.
- Genshu: No amelioration stage.
You now have two questions:
- Why not nama? I remember you rambling at large about how that was the only way to go!
- Who the heck is Yamahai?
To answer both, we must start with a quick history and chemistry lesson.
Lactic Acid
Things were hard in the 1900’s, your precious mash (moto) and its optimal growing environment were exposed to many dangers for almost a full month! People had recently discovered they didn’t actually need to hit the rice to oblivion with poles for days 3 so sake could happen, and with much sadness -for there were many joyful songs to be sang whilst spanking the rice- they’d now leave the yeast on its own to fend-off bacteria, other wild yeast, and ghosts.
During this time, a small amount of lactic acid was produced by the yeast cells (and some bacteria that hopefully had good intentions) as byproduct of the initial fermentation. This acid changes the pH of the mash and protects it from harmful agents. All good afterwards, but in the meantime, many things could -and often would- go wrong.
It didn’t take long to discover the role of this acidic ally and brewers started adding lactic acid to the moto. This was awesome because it shortened the production time of the moromi from weeks to a single week, always giving you good results! The new method was called sokujo (速醸), or “fast fermentation”
Where is the catch? Nowhere, really, but it is true that the moromi coming out of this process produces a different sake. It is cleaner, leaner, lighter.
But, better? It depends on who you ask. At the time it definitely was because it allowed producers to not waste their entire moromi. Now that we can better control the environment, however, the question is back on the table.
And that’s where we come in.
Yama Oroshi Haishi Moto
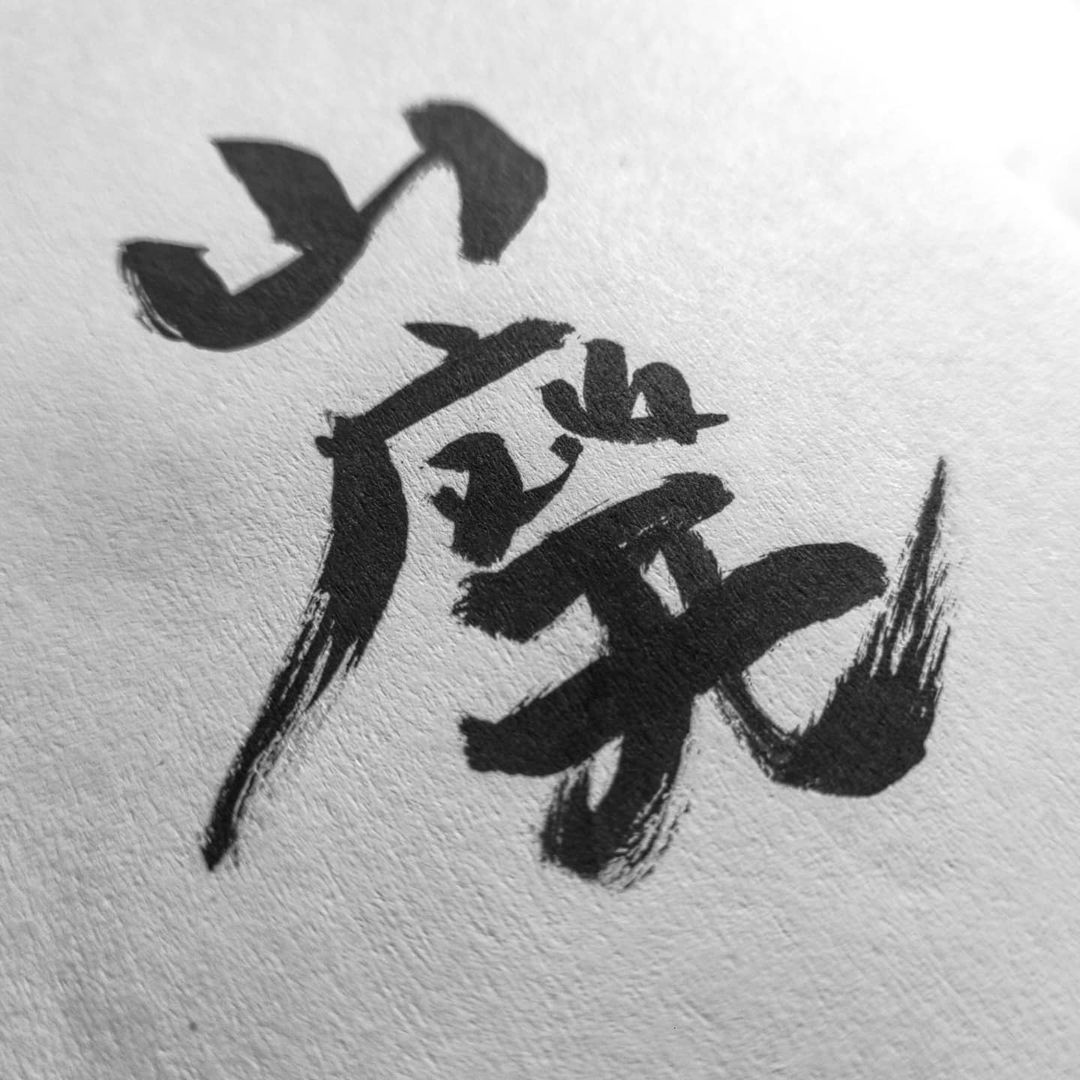
When the brewers decided to stop the yama oroshi they called this new method Yama Oroshi Haishi, which roughly means “Abolotion of the yama oroshi.” or, in short: Yamahai (山廃)
Yamahai is back as a starting method in the industry today because it has some very desirable characteristics. The resulting sake is fuller in body, rounder, vibrant, earthy, and a little funky. Do you like strong cheese? You’ll be right at home.
If you brew sake at home, yamahai is a method that can give you variability that is otherwise hard to achieve with the ingredients and tools you may have at hand. And is the door to many other daring an exciting experiments.
Unhinge yourself! Go wild!
Yamahai Recipe
There are two things that make this recipe different to the traditional one you might had been following:
- No lactic acid added to the moto. This takes our moromi timing from a week to roughly 3 (or even 4) weeks.
- A very specific time when pasteurization has to happen, in order to stop fermentation.
The last point is the reason why this recipe is not for a nama sake. I wanted the alcoholic content to be somewhere between 12% and 13%. It produces a sake with the following profile:
Fruity, a bit oily yet silky smooth. Very subdued acidity, as if the lightest of olive oils was dissolved with honey and stored inside of a cantaloupe for a week. A slight touch of koji in the aftertaste, almost like an afterthought.
Units and conventions
- c: cup
- tsp: teaspoon
- Rice: When the recipe calls for rice, follow the normal procedure to steam and cool the specified amount: rise well, soak for an hour, steam for an hour, and cool to less than 20C.
- Always clean and dissinfect everything, particularly during the initial steps.
Ingredients
- Water: Most drinking water sources will do. Remember: no iron (though if your water has iron, you probably have bigger problems)
- Rice: Around 4.5 Kg of rice milled to 60%.
- Koji: 1.13 Kg of rice innoculated with your favourite Koji kin.
- Yeast: I use Wyeast’s strain #4134. This is equivalent to sake yeast #9.
Calendar
| Day | Procedure | Notes |
|---|---|---|
| 1 | Morning: Start moto: 2.5c of distilled water, 3/4 tsp yeast nutrient, 1/2c Koji. Store on moto fermenter in your fridge. | Congratulations: You are starting a new batch. Drink some sake to celebrate. |
| 2 | Morning: add 1c water, 1.5c of rice. Move the moto to room temperature in the afternoon. Keep at around 19C | You probably won’t see much activity yet. |
| 3 | Morning: add 1c water and stir. | You should note a slightly sweet aroma. The rice may have absorbed all water in the evening. Add a bit more if necessary. |
| 4 | Morning: stir. Evening: add yeast. | Your moto should be slightly bubbly and show some activity. |
| 5 | Stir morning and night. | You should see some moderate activity. |
| 6 to 14 | Stir morning and night | The yeast should look slightly active, some alcoholic aroma starts to come through. At day 11 you might see some layering caused by the increase of alcoholic content. |
| 15 | Transfer moromi to primary fermeter. Add 1.5c of water, 1.5c of Koji, and keep at 10C | At day 15 the layering on the moromi fermenter might be as much as 3 cm. You should see high activity. |
| 16 | Hatsuzoe (はつぞえ). Evening: add 1.5c of rice. | Strong alcoholic aroma, some carbonation (yes, you should taste it!) |
| 17 | Stir as often as practical, optimally every 2 hours | Fresh aroma, activity may be a little lower than yesterday. |
| 18 | Nakazoe (中ぞえ). Morning: add 2.5c Koji, 5c water. Evening: 6c rice, 5c water, 2.5c Koji. | Stir for at least 20 minutes after the morning and evening additions. |
| 19 | Tomezoe I (止めぞえ). Morning: 9c water and half of the remaining Koji. Evening: 5c rice. | The mash should be quite effervescent |
| 20 | Tomezoe II 4. Morning: 9c water and the remaining Koji. Evening: 5c rice. Lower the fermentation temperature to 8C | The flavour should be dry and slightly sweet. Again, stir for about 15 to 20 minutes after each addition, and as often as possible during the day. |
| 21 | Stir, morning and night. Lower fermentation temperature to 7C | Observe healthy “muscle” formations, large amounts of CO2. Stir as often as possible. |
| 22 | Stir, morning and night. | Still lots of activity. Measured alcohol at this point is close to 2% |
| 23 | Stir, morning and night. | Measured alcohol should be between 5% and 7%, very healthy carbonation. |
| 24 | Stir, morning and night. | Measured alcohol should be between 8% and 10%. Nice balance between sweetness and alcoholic taste. At this point you have a great summer doburoku. |
| 25 | Move to secondary fermenters | See notes on filtering on the next section. |
| 26 to 27 | Measure alcohol very carefully. Pasteurize as soon as it is close to 12% | Normally this will happen around 7 days after finishing the Tomezoe |
After pasteurization your sake should rest at around 8C or 10C for about 60 days. During this time you can decant at days 12, 24, and 40. On the 40th day you can bottle your sake (performing a second pasteurization if desired) and store for another twenty days at the same temperature.
I recommend that you don’t do a second pasteurization, and forever keep your sake chilled at 10C until ready to drink.
On Filtering
You will need to filter your sake in order to move it to a secondary fermenter. Traditionally there are several methods for this, and at home it will always be a messy procedure (unless you have a fantastic machine designed specifically for this purpose).
I used to filter by gravity, and then use a press to extract the last possible drop out of the moromi. The pressed sake has a different flavour profile and frequently ended up as as cooking ingredient.
I recommend the following:
- Have a second bucket of the size of your primary fermented dissinfected and ready.
- Cover this second bucket with a cheesecloth.
- Pour your moromi over. Filter by gravity for a whole day.
- Press very gently if necessary.
Separate the sake obtained first from the one you’ll get after pressing on the moromi “bag”, this will be the finest portion of the batch.
Don’t stress too much if you end up causing a mess. Just enjoy, and perhaps have a sake at hand to drink.
You can still use a press to process the sake lees, and the leees themselves are great for cooking or marinating. If you don’t have any use for them, don’t throw them to the garbage! I’m sure you’ll have friends who would appreciate having them. Sake lees are common in Asian kitchens but very hard to find as an ingredient in North America.
Enjoy!
-
Best is relative, I know, but it is surely the most interesting. ↩︎
-
Technically it should be possible to brew something better at home. Who is to say? So many variables! And it is also a matter of taste; depending on what you like you may of course brew something better, but hey, if you are going in my direction, this recipe is probably the best. ↩︎
-
A process known as Yama-Oroshi in the traditional starter method, called kimoto (生酛). You are keeping track of all these names, right? ↩︎
-
Normally Tomezoe happens in a single day, but you can separate it into two for convenience. ↩︎